The Non-Designer's Guide to Proposal Graphics (Part One)
As a business owner bidding on government contracts, you know first impressions matter. Your proposal must stand out among dozens of competitors. However, creating professional-looking graphics can feel overwhelming with limited time and no formal design training. Trust me, you’re not alone – many successful contractors started precisely where you are.
You’re spending your days managing operations, serving clients, and growing your business. The last thing you need is to spend hours figuring out how to make your organizational chart look professional or wondering if your process flow diagram is helping or hurting your chances of winning.
In today’s post, we’ll discuss:
Free and inexpensive tools to create proposal graphics
Design principles to remember while creating your proposal graphics
Graphics you should include in your next proposal
The Right Tools (Without Breaking the Bank)
You don't need expensive software or a design degree to create professional graphics. Let's focus on accessible tools that get the job done:
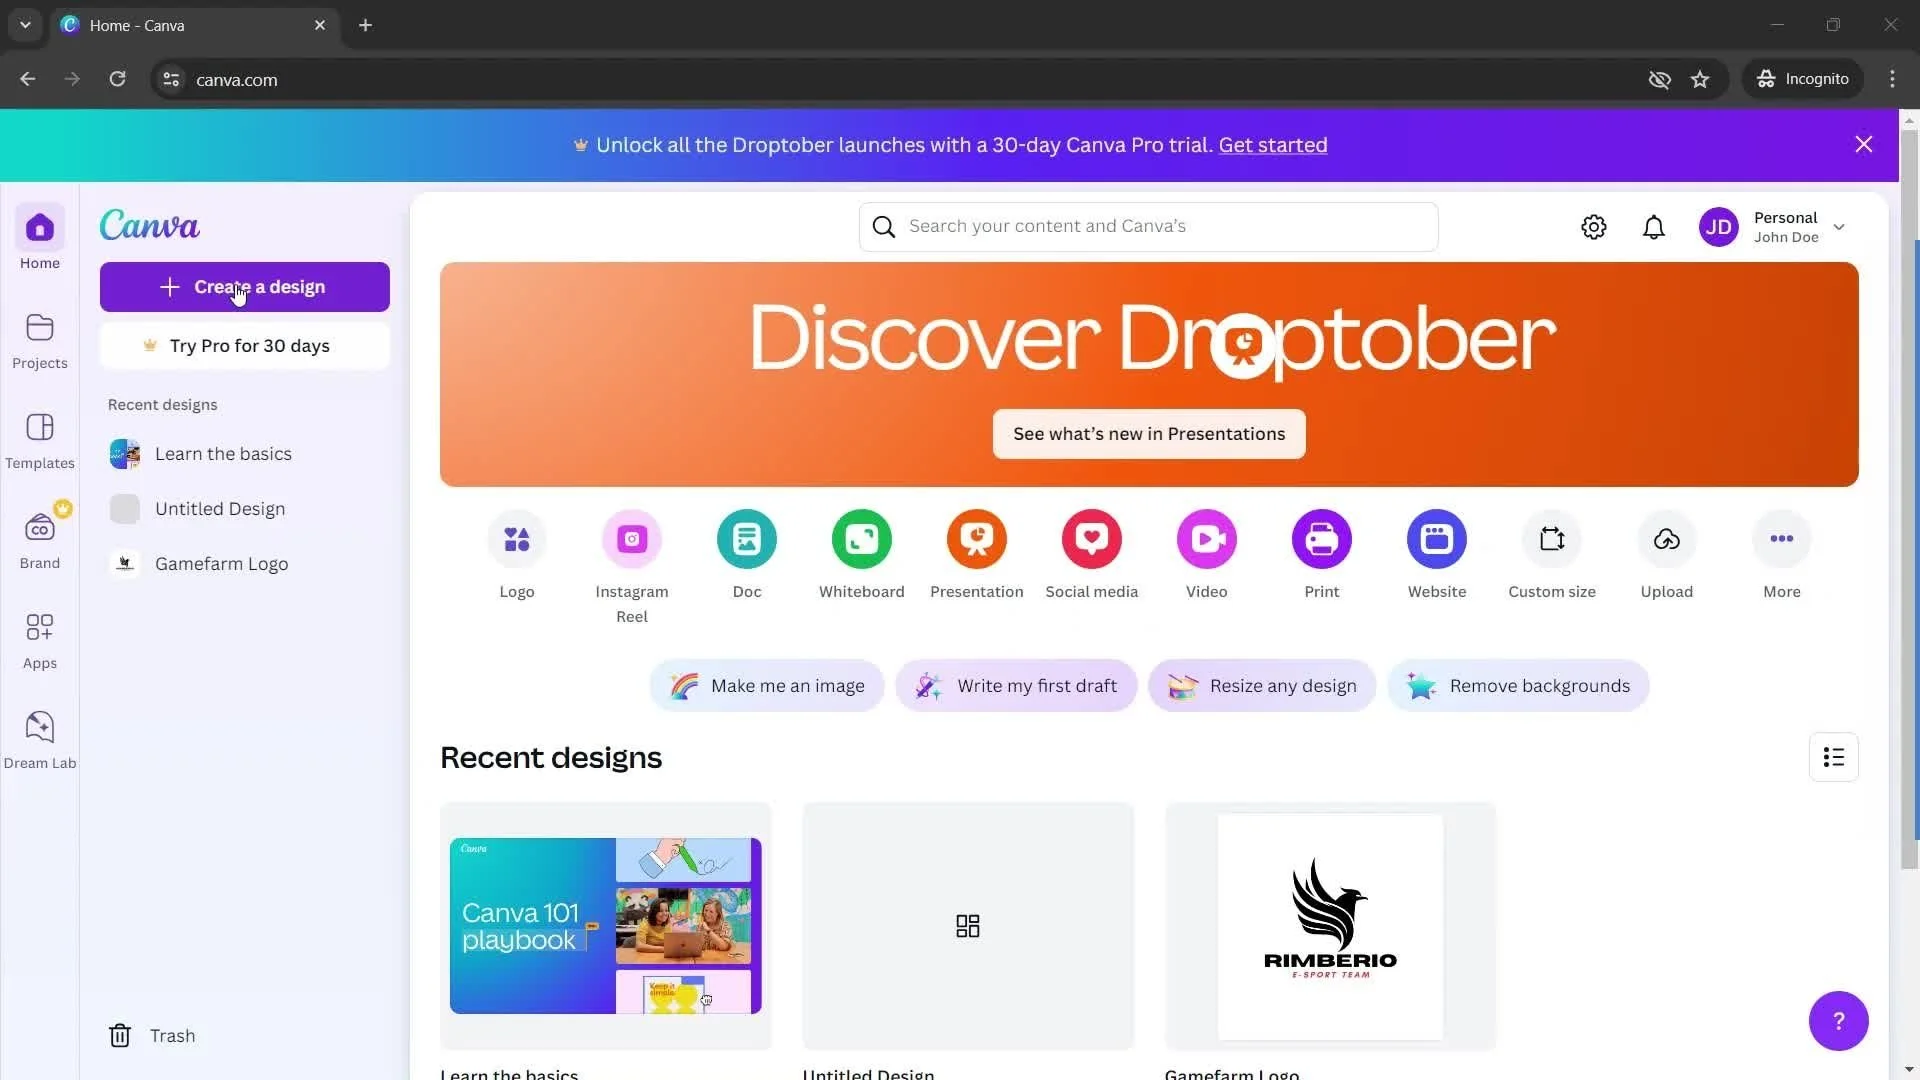
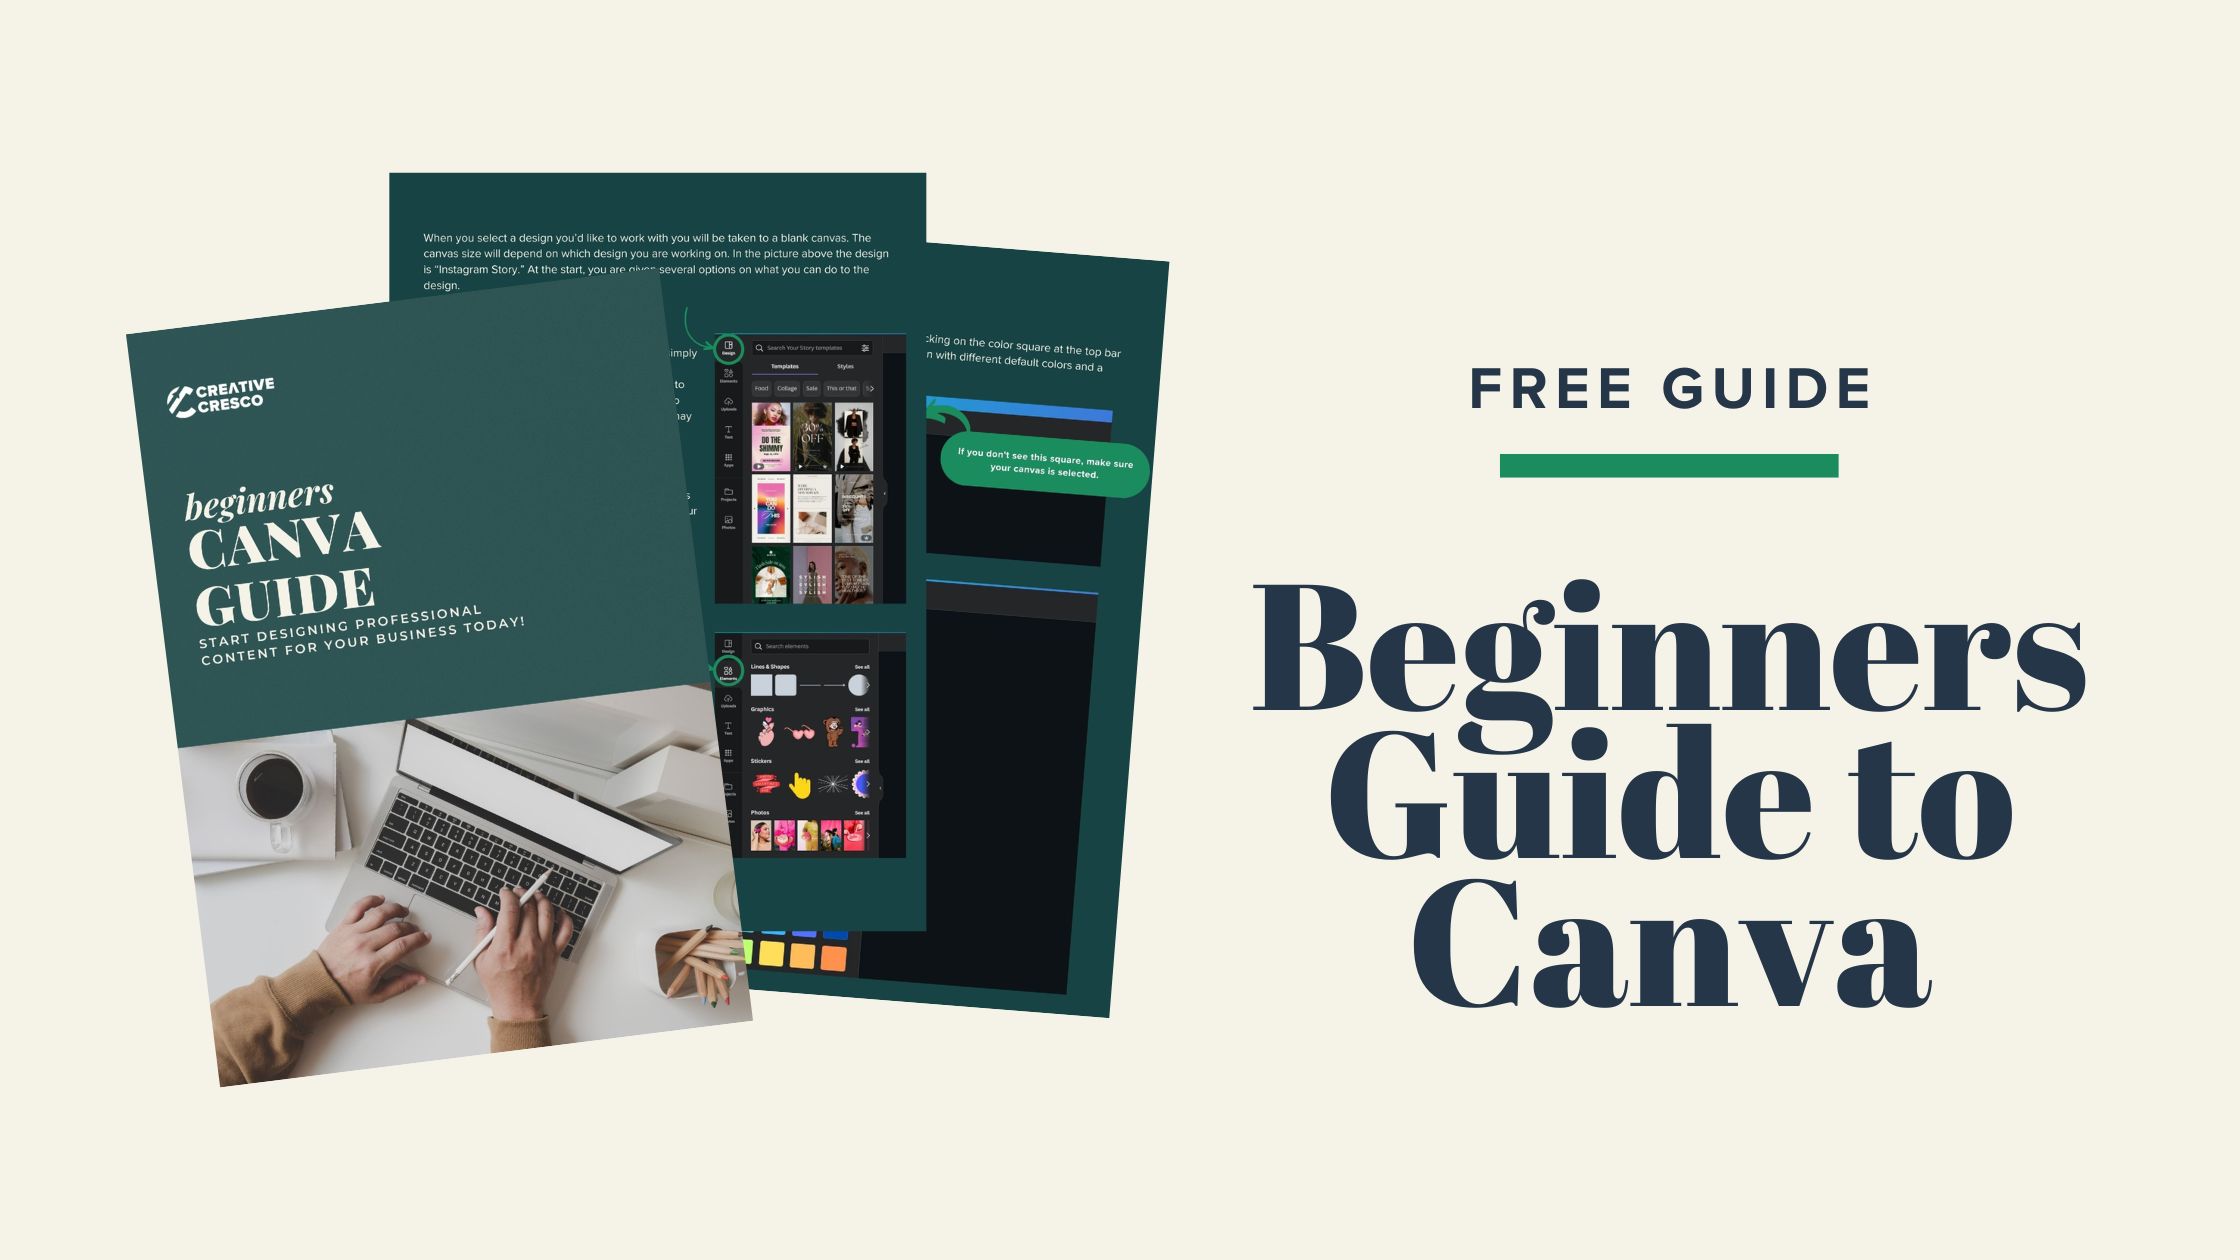
Canva
Overview
A web-based graphic design platform known for its intuitive drag-and-drop interface and extensive template library, targeted at both beginners and professionals. The free version offers more than enough features for most proposal graphics, while the Pro version ($12.99/month) provides additional templates and collaboration features that can be valuable for larger bids.
Cost Details
Free: Basic features, limited templates and storage
Pro ($12.99/month): Premium features, 100+ million stock assets
Platform Availability
Web browser
iOS and Android apps
Desktop apps for Windows and Mac
Key Features/Benefits
Extensive template library (400,000+)
Brand kit functionality
Real-time collaboration
Magic resize tool
100+ million stock photos and elements
Custom font upload
Pros
Extremely user-friendly interface
Vast template selection
Robust free plan
Strong collaboration tools
Integrated stock media library
Cons
Limited advanced design capabilities
Some features are only available in paid plans
Cannot work offline effectively
PicMonkey
Overview
PicMonkey is a versatile photo editing and graphic design tool that offers valuable features for proposal development. The platform's strength lies in its ability to handle both quick edits and more complex design projects, from basic photo enhancements to creating sophisticated marketing materials. While PicMonkey doesn't offer a free plan, its paid versions include comprehensive tools for photo enhancement and graphic design.
Cost Details
Basic ($7.99/month): Essential features
Pro ($12.99/month): Advanced features, more storage
Business ($23.99/month): Team collaboration features
Platform Availability
Web-based
iOS and Android apps
Chrome extension
Key Features/Benefits
Advanced photo editing tools
Brand kit creation
Cloud storage
Collaboration features
Template library
Text effects and graphics
Pros
Strong photo editing capabilities
User-friendly interface
Good selection of fonts and graphics
Cons
No free plan
Limited template selection compared to Canva
Some tools can be complicated for beginners
More expensive than some competitors
VistaCreate
Overview
VistaCreate is a web-based graphic design platform that specializes in creating social media content, marketing materials, and animated designs. The platform offers both free and premium plans, with the Pro version available at $10/month. Its user-friendly interface includes a vast library of templates, stock media, and animation features, making it accessible for beginners while offering enough depth for experienced designers.
Cost Details
Free: Basic features and templates
Pro ($10/month): Full feature access
Team (Custom pricing): Collaboration features
Platform Availability
Web-based
iOS and Android apps
Key Features/Benefits
Animated design templates
Video editor
Brand kit functionality
Stock media library
Social media templates
Custom font upload
Background removal tool
Pros
Competitive pricing
Extensive template library
Cons
Strong focus on social media
Limited advanced design features
Less intuitive than some competitors
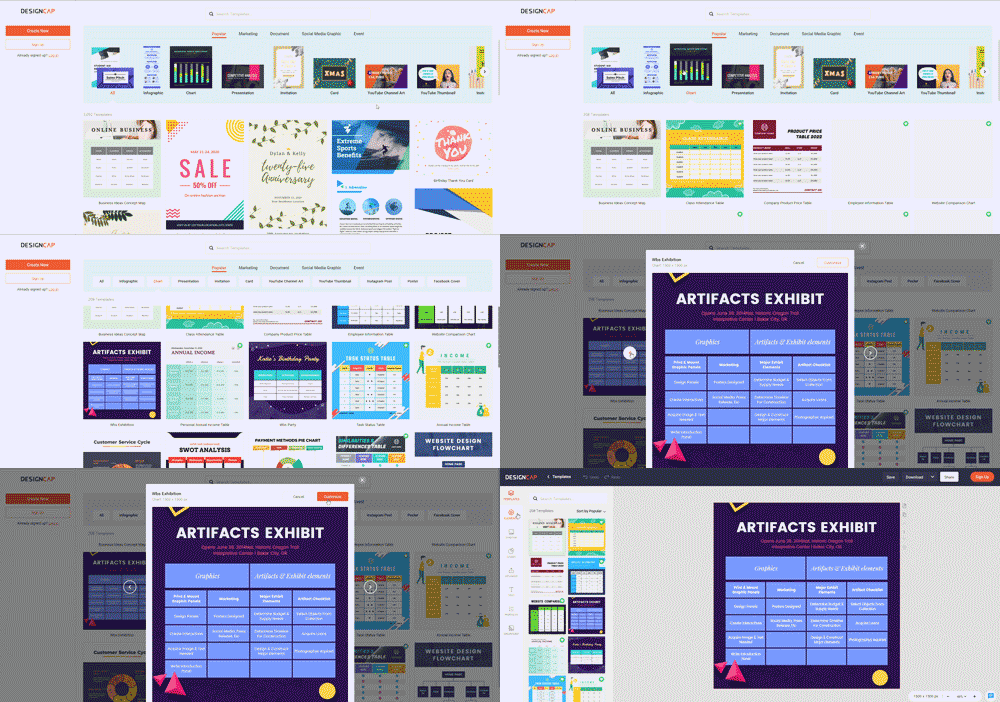
DesignCap
Overview
A simpler alternative to Canva focused on creating basic designs quickly with a straightforward interface. DesignCap is a straightforward, budget-friendly graphic design tool focused on creating basic marketing materials and infographics. The platform stands out for its simplicity and affordability, with plans starting at just $4.99/month. The platform includes essential tools like a template library, stock photos, and a chart maker, making it particularly useful for small businesses needing to create simple professional graphics without a steep learning curve. DesignCap's streamlined approach and competitive pricing make it an attractive option for users seeking basic design capabilities without unnecessary complexity.
Cost Details
Free: Basic features
Basic ($4.99/month): More templates and features
Plus ($5.99/month): Full access to all features
Platform Availability
Web-based only
Key Features/Benefits
Template library
Stock photo library
Basic photo editor
Custom upload options
Social media templates
Chart maker
Pros
Very affordable
Simple to use
Good for basic designs
Quick learning curve
Clean interface
Cons
Limited advanced features
No mobile apps
Smaller template library
Basic collaboration features
Limited customization options
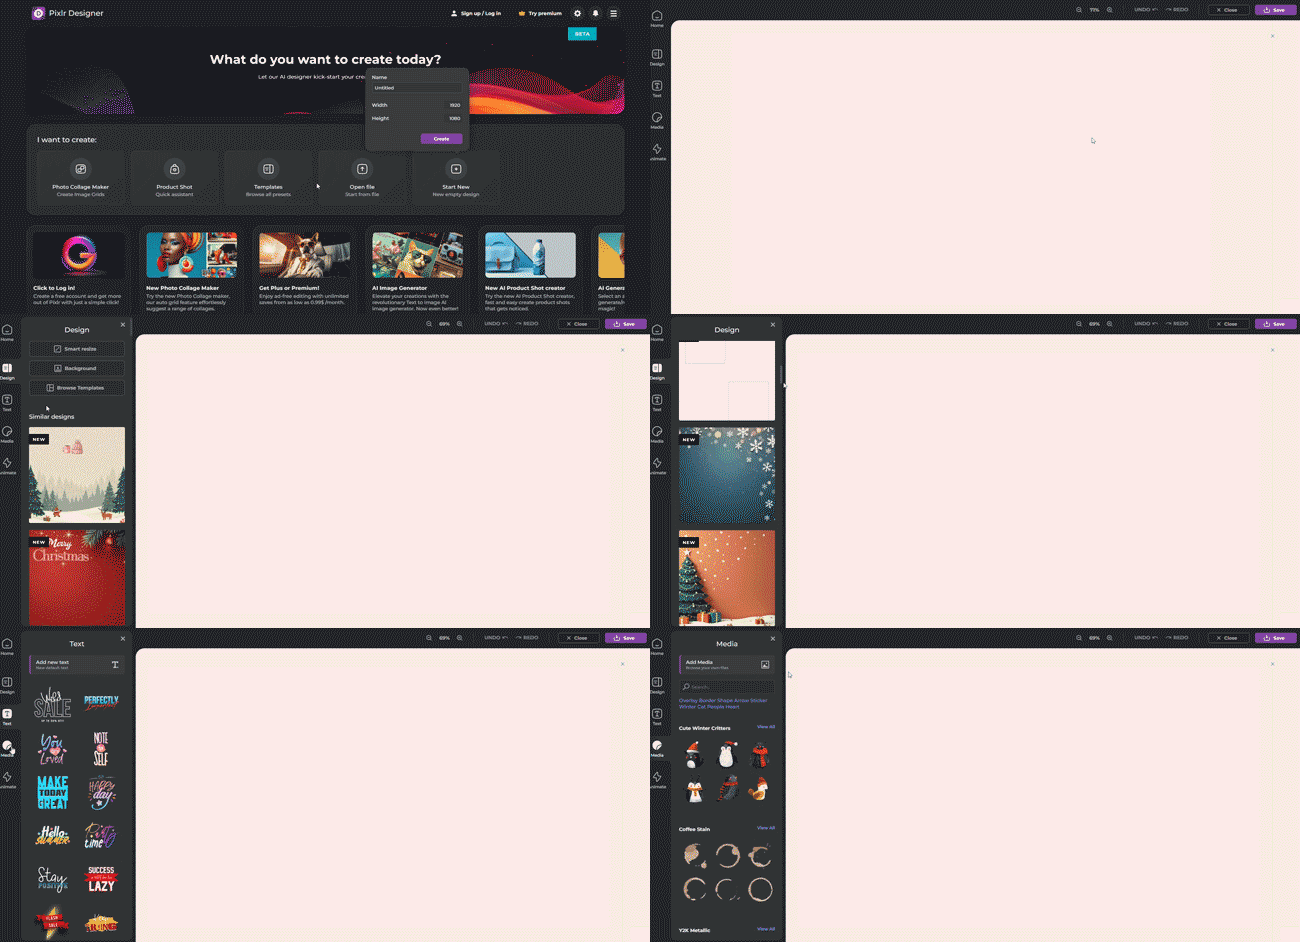
Pixlr Designer
Overview
Pixlr Designer, part of the Pixlr suite of creative tools, is a web-based graphic design platform that bridges the gap between photo editing and design functionality. At its core, it offers robust integration with Pixlr's photo editing capabilities while providing essential design features for creating marketing materials and social graphics. Though it faces some performance limitations and offers fewer templates than major competitors, its consistent updates and strong basic features make it a solid choice for users who prioritize photo editing capabilities alongside design tools.
Cost Details
Free: Basic features
Premium ($7.99/month): Advanced features
Professional ($14.99/month): Full access
Platform Availability
Web-based
Mobile apps (limited features)
Key Features/Benefits
Template library
Stock asset library
Pros
Reasonable pricing
No software installation needed
Cons
Focuses more on photo editing than inforgraphics
Less intuitive than competitors
Limited template selection
Limited advanced design tools
Summary of Pros and Cons:
Our Ranking
Canva is our favorite web-based software for creating proposal graphics!
Canva: Best for ease of use and versatility in various design types but can be restrictive for advanced features in the free version.
DesignCap: A budget-friendly alternative to Canva focused on creating basic marketing materials and infographics. Has an excellent chart maker.
VistaCreate: Excellent for quick creation and easy-to-use templates, but its stock library and advanced features are smaller compared to Canva.
PicMonkey: Great for photo editing and creative design, but its free version is limited and more basic compared to others.
Pixlr: Free vector design tool with real-time collaboration, but lacks some features needed for more complex design work.
Design Principles Made Simple
Setting up your graphic design workspace is straightforward. Start by creating folders for your basic templates, brand elements (like your logo and color codes), and final graphics. Having an organized system saves time and ensures consistency across all your proposals.
Color Choices That Work
Your choice of colors can significantly impact how evaluators perceive your proposal. Stick to your brand colors, but follow this simple rule: use your main color for primary elements (60%), a complementary color for supporting information (30%), and an accent color for emphasis (10%). When in doubt, navy blue with gray accents presents a professional, trustworthy image.
Layout Anyone Can Master
Think of white space as breathing room for your content. A cluttered graphic confuses evaluators and diminishes your message. Give your elements space to stand out. Research from the Nielsen Norman Group shows that proper use of white space improves comprehension by up to 20%.
Typography Tips
Keep text readable and professional:
Use no more than two font families per graphic
Ensure text is at least 10pt size
Maintain high contrast between text and background
Use bold sparingly for emphasis
Core Graphics Every Proposal Needs
Proposal Graphics you can include:
Organizational Charts
Process Flows
Project Timelines
Performance Graphics
Organizational Charts
Evaluators need to understand your team structure quickly. Keep it clean:
Use simple boxes for positions
Clear reporting lines
Include only relevant positions
Add past performance references where applicable
Process Flows
Show how you’ll manage the contract:
Start with the government’s requirements
Show clear steps
Include quality control points
Highlight communication touchpoints
Project Timelines
Make your implementation plan crystal clear:
Focus on major milestones
Show realistic timeframes
Highlight early wins
Demonstrate risk management points
Performance Graphics
When showing past performance or projections:
Use simple bar charts for comparisons
Line graphs for trends over time
Include actual numbers, not just percentages
Highlight key achievements or targets
Making It Work in Practice
Templates Are Your Friend
Save time by creating these once:
Basic organizational chart
Quality control process
Project Timeline
Performance dashboard
Update them for each proposal instead of starting from scratch.
Quality Checks
Before submitting, ask yourself:
Can someone understand this in 30 seconds?
Does it align with the RFP requirements?
Are all numbers accurate and consistent?
Is the text large enough to read easily?
Conclusion
Creating professional proposal graphics doesn't require a design degree or expensive software. By following these guidelines and using the right tools, you can develop compelling visuals that strengthen your proposals and increase your win probability. Start small, focus on clarity, and build your capabilities one graphic at a time.
In Part 2, we will explore how to tell compelling visual stories through proposal graphics and creating custom infographics that highlight your discriminators.
Need more guidance? We're here to help you navigate the federal proposal process and create graphics to strengthen your bid. Check out our proposal review service or graphic design services.


